How to set up your SprinklerHood
A Step-by-Step Guide
Hey there!
Welcome to our super simple tutorial on setting up your brand-new SprinklerHood! With just a few quick steps, you’ll be protecting your sprinklers and keeping your lawn looking fabulous.
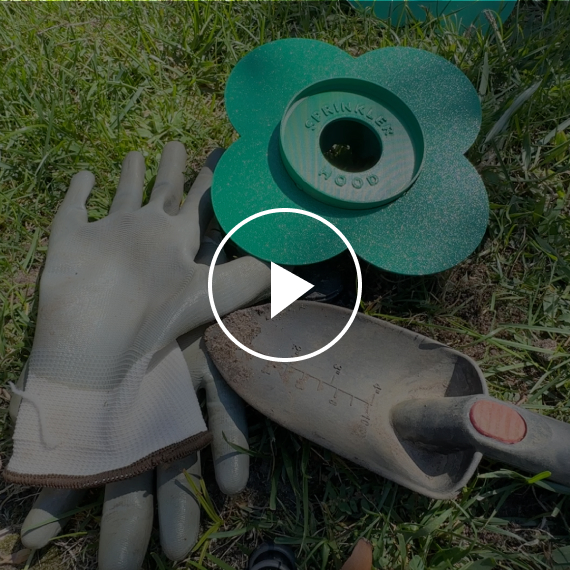
Here’s what you’ll need to get started:
• SprinklerHood
• A pair of gloves
• A spade
(let’s get digging!)
Prepare the area:
Start by using your spade to carefully remove the grass surrounding the sprinkler. Create just enough space to accommodate the SprinklerHood base.
Place the base:
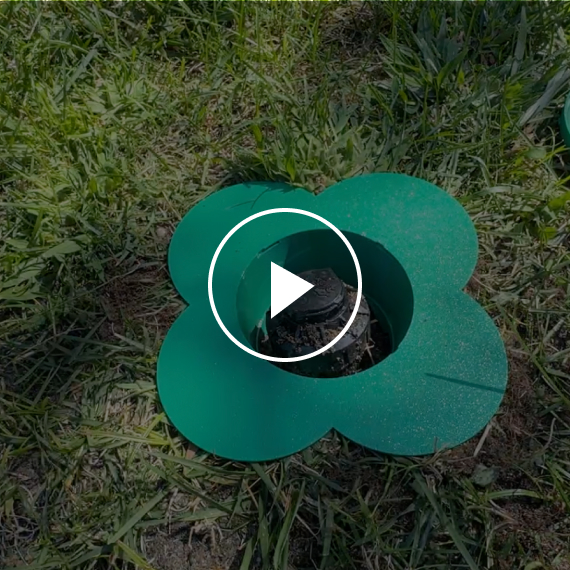
Once you have cleared the area, position the base of the SprinklerHood around the sprinkler head. It should fit snugly into place.
Stabilize the base:
To ensure the SprinklerHood stays secure, add some soil or grass around the base. This will keep it stable and prevent it from moving.
Attach the head:
Now, take the head of the SprinklerHood and align it with the small holes on the base. Gently press down and connect the two pieces together, ensuring they are firmly attached.
Ta-da!:
Give your SprinklerHood a little wiggle to make sure it’s nice and secure.Your sprinkler is now protected from damage, no matter what activities your lawn endures!
And there you have it! In just a few minutes, your sprinklers are all set for their new, protected life.
Watch the videos to see how it’s done step-by-step!
Need more help? Contact our support team here

